Sunday, May 25, 2014

1,300 Brads

WOWZA! Thats A LOT of mini brads....or is it?? HA HA HA
Several weeks ago Hobby Lobby had them 1/2 off. Luckily I have 2 HL in town so I grabbed what they had.
So what do you do with 1,300 mini brads AND 13 embossing powders????
You EMBOSS them!!!!!
100 mini brads for each color......SO PRETTY!!!! Lots of FUN too....LOVE IT!!!! Now, I have more embellishments and they fit so nicely in my embellishment boxes that I made.
I got 10 pkgs of the brass mini brads (100 per package SUPER DEAL!!) and 6 pkgs of the white mini brads (50 per package, not that great of a deal LOL) but I wanted 1300 brads.....
Then I came home and started embossing them.
TA DA!!! Aren't they PRETTY!!!!??

clic on pics to enlarge


from top left to right:  beige (tan), black, blue, brown, gray (silver), green, orange, pink, purple, red, white, yellow and gold.


I didn't poke them through the lid cause I wanted to see that they were brads, I didn't want to get them confused with my DIY enamel dots. I stuck them on with a glue dot.
I'm so EXCITED!! my embellishments are expanding......YAHOO!!!

Wednesday, May 21, 2014

DIY Embellishment Boxes

I'm working on expanding my embellishments but I need ORGANIZATION/storage.

clic on pic to enlarge


I have 24 of these boxes, I've had them a long time (forgot I had them)


but I need more and they have been discontinued and I couldn't find them anywhere (ebay, etc.)
OH MY!!! What is a crafter to do??
SAVE YOUR TIME AND MONEY!!!!!!!!!!!!!!!!!!!!!!!
MAKE YOUR OWN!!!!!!!!
DUH! why didn't I think of this YEARS AGO????
I've lost count of how many embellishment containers I've purchased and it didn't work out for one reason or another...aaarrrggghhh!!!!!!! Wasted $$$$$$$$....never again.... 
I made my own!!
 Now, I'll always have an embellishment container!!!
WHOOPIE!! HURRAY!!!!  
I went to the silhouette store and looked at the 3d boxes and decided on #38007.
The original was too big so I shrunk it down.
PERFECT!!!! PERFECT!!!!!!


I deleted all the side panels and your left with 3 pieces (lid and 2 box panels)
I shrunk the size of the lid to 3.25"w x 3.45"h. Then the first box shrunk to 2.19"w x 2.84"h then the 2nd box shrunk to 2.19"w x 2.83"h.  As you can see in the photo above they are almost the same.
When its all put together  height: 1 11/16" 
                                      width: 1 3/8"
                                       depth: 5/8"

SUPER COOL HUH?????
Whats nice about making your own? I can adjust the box size as needed for my embellishments and I can always make more. I was able to get 3 boxes out of one 8.5 x 11 piece of cardstock. CHA CHING!!! LOTS OF $$ SAVED for other crafts!! HA HA HA HA
WAIT! till you see my embellishments in the boxes in my drawer!!!!
SO BEAUTIFULLY ORGANIZED!! LOVE IT!!!!
Yes, I also have a cricut but I didn't feel like searching all the cartridges/handbooks for the proper box.
I'm sure theres a cricut cartridge that has one somewhere. 

Tuesday, May 20, 2014

Some Embellishments

As I have said before "I don't have any embellishments". I'm working on that and I picked up a bag of sequins. WOW! Look at ALL the PRETTY COLORS!!!! and they come in 3 sizes per color....
SUPER COOL!!!!
I sorted them by color and and will store them in these containers.

clic on pic to enlarge


notice the 3 sizes in lower left corner.


That's ALOT of sequins....


Wahoo....My embellishments are expanding...HA HA HA
Oh, I found the sequins at JoAnns and used a 40% off coupon...HA HA thrifty crafter.

Wednesday, May 7, 2014

DIY - Enamel Dots

I haven't been MIA....I've been crafting....I realized I hardly have any embellishments so.......
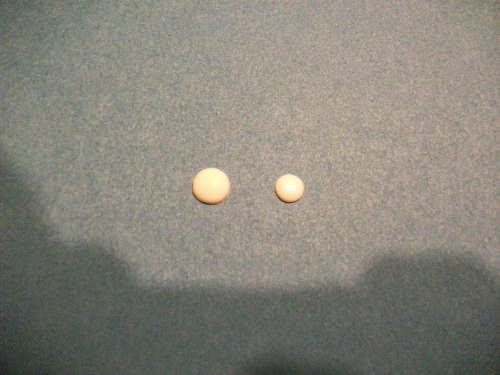
I made some..LOL!!! This is the latest thing on youtube- Making your own Enamel Dots, it really caught my interest!!! So I went to Michaels and bought a small bag of White PERLER BEADS (found in the kids art section). There's 1000 beads, so I had to "PLAY"..ha ha ha...I took some beads and melted them...OH!! SO PRETTY!!!!!!!! so then I took some more beads and using a "Pill Cutter" I cut some in half and melted them.....OH!! PRETTY PRETTY!!!! They both melt so nicely and are so SHINY!!!


clic on pics to enlarge


 That was ALOT of fun....very time consuming but fun
but wait...I need color...so I went to Michaels and picked up a bag of GLITTER Perler Beads.
OOPPSS!!! not so fun....I couldn't get the "whole" Perler Bead to melt no matter the temp or length of time...uuurrrgghh....SO.. I cut them in half....they melted but they aren't glittery and they shine but not as shiny as the white ones....(its a different kind of plastic too compared to the white ones)


There's 6 colors (opaque: red, yellow, white, blue, purple and green)


I think I'll stay with the original Perler Beads they come out much nicer. No more special/fancy beads.