
Funny Story....I was at the doctors the other day and Good Morning America had Martha Stewart on and she showed these rockets...hummm...I like those, I'll have to get her magazine....I come home and while blog hopping I come across http://paperboutique.blogspot.com/ and she has a video of her version on these rockets. So naturally I had to do my own version...LOL...Its all done with the gypsy and expression.
carts: George & Basic Shapes(rectangles 5.5w x 4h), Stand & Salute(July 4th 1.86h, stars .84h),Gypsy Wanderings(half circle 5.52w x 2.83w)
Cricut markers-red and blue
cardstock- white(12x12) and blue(8.5 x 11)
pkg red tissue paper - cut 5.75w x 8.5L (fold in 1/2)
2-boxes of mini glue dots
2-rolls of red tacky tape
tombow glue
This is the finished rocket( I made 40 to take into work)
clic on pic to enlarge
clic on pic to enlarge

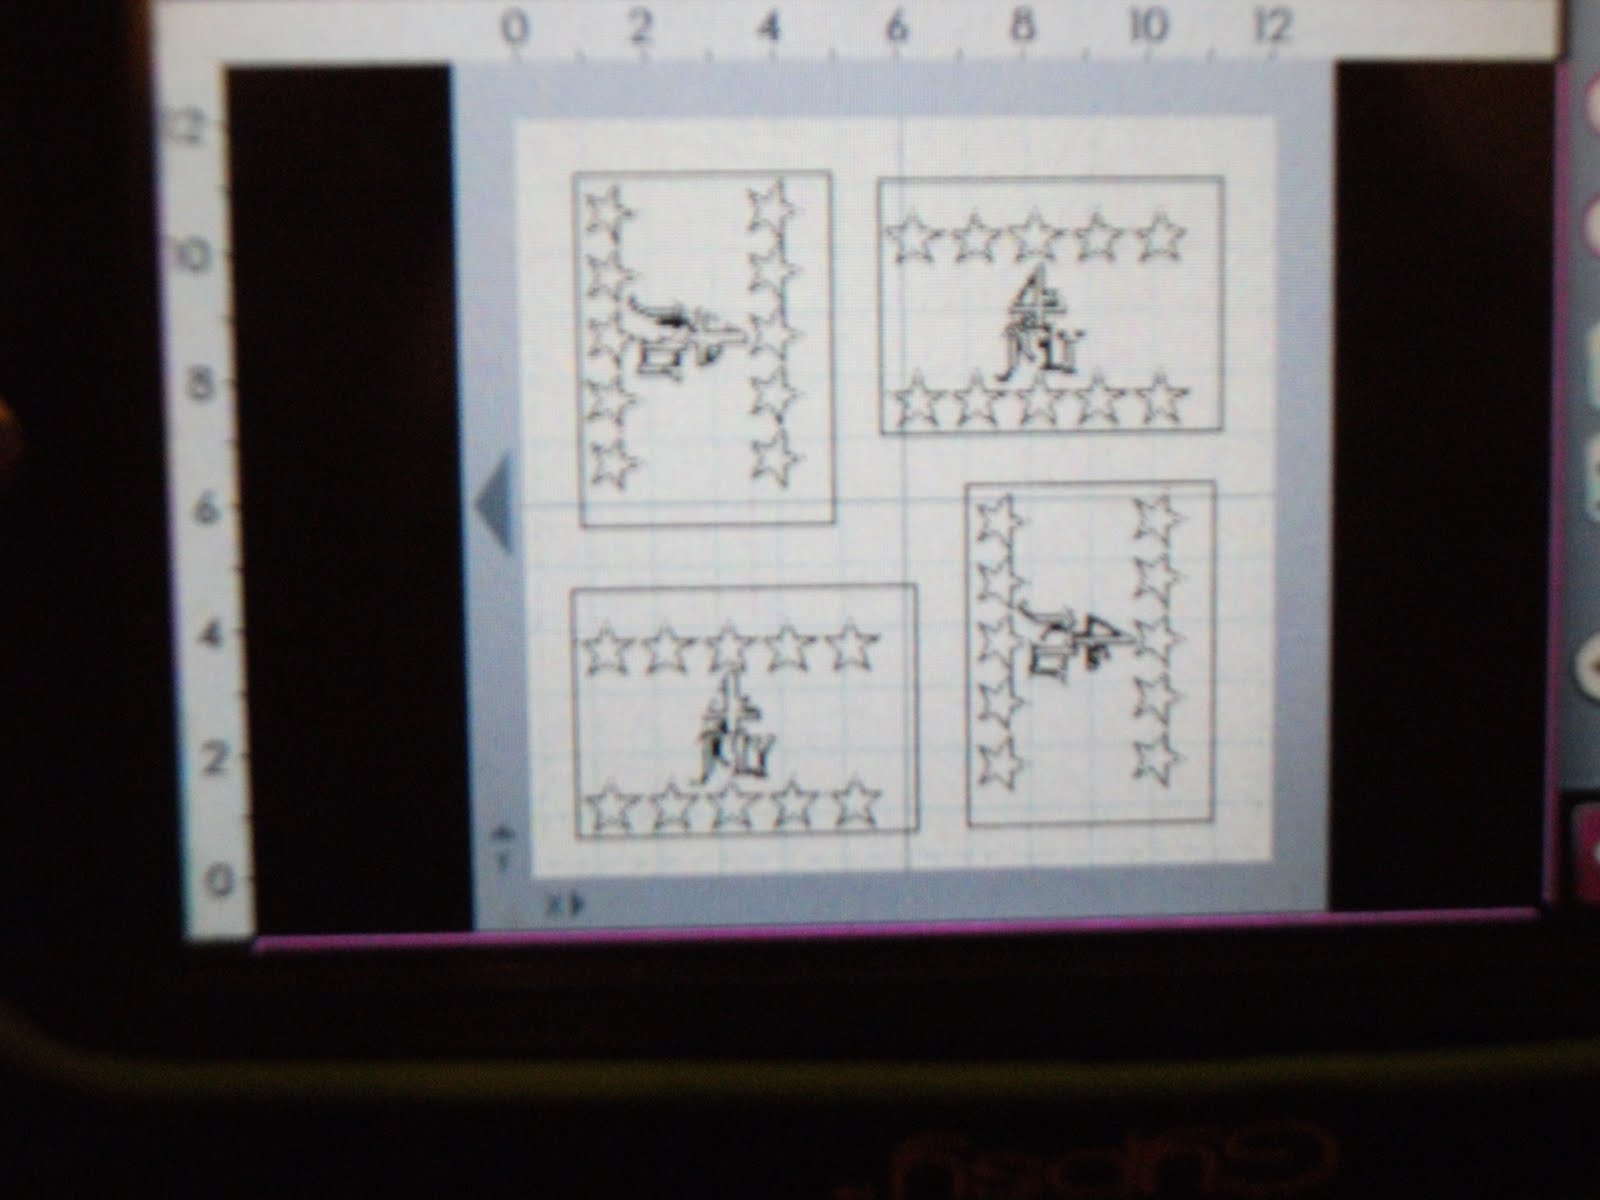
On the gypsy this is layer 1-the main design
now for layer 2 your going to hilite each rectangle from layer1 and copy it to layer 2, keep the eye open from layer 1 so you can align them up.

for layer 3 hilite each of the 4th July from layer1 and copy it to layer3, keep the eye open on layer1 so you can align them up.

for layer4 your going to hilite the stars from layer1 and copy them to layer4, keep the eye open from layer1 so you can align them up.

layer5 is the half circles

OK! Now your ready..**.load your mat with 12x12 white cardstock and check your setting, your blade should be in and leave layer1 alone, go to layer2 and CUT your rectangles.....OK! RETURN TO DESIGN (do not unload mat) and go to layer3 take your blade out(carefully-don't move anything) and put your RED marker in(make sure you have a piece of scrap paper under the marker when your putting it in so you don't mark on your design once the marker is in remove the scrap paper. RESET your setting (pressure 2, speed 3) and cut(print) 4th July. RETURN TO DESIGN(do not unload mat) and go to layer4, put your scrap paper under the marker and carefully without moving anything take out the red and put in the blue marker. your setting should be ok, since we're just switching markers. Now cut(print) your stars.take out the blue marker and put your blade back in.... NOW you can UNLOAD MAT! Take everything off the mat and put your blue cardstock on and go to layer5 reset your setting for the blade to cut and cut your half circles. ** repeat as many times as necessary.
As you can see at the top I scored it 1/4" and fringed it thats where you'll put the glue dots to hold the cone.

on the back side of the design at the bottom run a thin layer of glue and add your crepe paper(folded end on glue). Run a piece of red tacky tape along one of the ends and form your cylinder. Bend the fringe out and add glue dots.

with the 1/2 circles form your cone, when I had my cone shape the way I wanted it. I marked the edge so I'd know where to put the red tacky tape. Then shove it onto your cylinder....LOL those glue dots grab fast , I tried to line up the seams...since the cone won't come off...I added candy thru the bottom and slightly twisted the crepe paper closed.
HOPEFULLY, I didn't leave out any steps....ROTFLOL!!!!
It's Pretty and it was QUICK! VERY PATRIOTIC too...red-white-blue!!!!
THANKS TO PAPERBOUTIQUE I didn't need MS magazine.....LOL
No comments:
Post a Comment